> For the complete documentation index, see [llms.txt](https://www.helixedgelab.org/llms.txt). Markdown versions of documentation pages are available by appending `.md` to page URLs; this page is available as [Markdown](https://www.helixedgelab.org/getting-started/tutorials-how-to/vinyl-stickers.md).
# Vinyl Stickers
Create single-color stickers made of vinyl!
### **Making Vinyl Stickers**
1. **Log onto one of the EDGE Lab computers that’s connected to a Silhouette Cameo vinyl cutter.**
2. **Find the image(s) you want to make a sticker out of**. For best results, use images (such as logos) that have clear, solid lines and are a single color. Your design will be cut (not printed) on a sheet of vinyl that is just one color, so (even if there are multiple colors in the image) your sticker will be just one color.
3. **Once you’ve found the image(s), download them to the desktop by right-clicking the image and selecting “Save image as.”** When prompted, give your image(s) a name and save to the computer.
4. **Open Silhouette Studio on the computer by clicking the**  **icon, or by typing “Silhouette Studio” in the search bar “**
5. **When Silhouette Studio opens, click the Page Setup icon** **to open the Page Settings**
Set the **Size to: Auto**
Set the **Cutting Mat to: None**
Click the **Registration Mark** icon  and set the **Style to: Off/None**
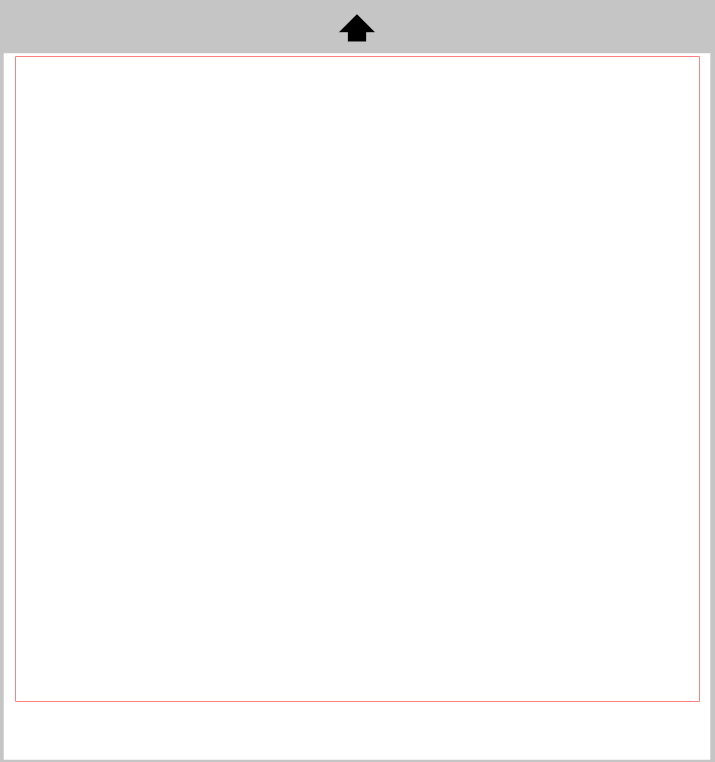
The design area should be blank with a red border
 6. **Place your image into Silhouette Studio by going to File -> Merge**
7. A window will pop-up; select the Desktop, and select your image
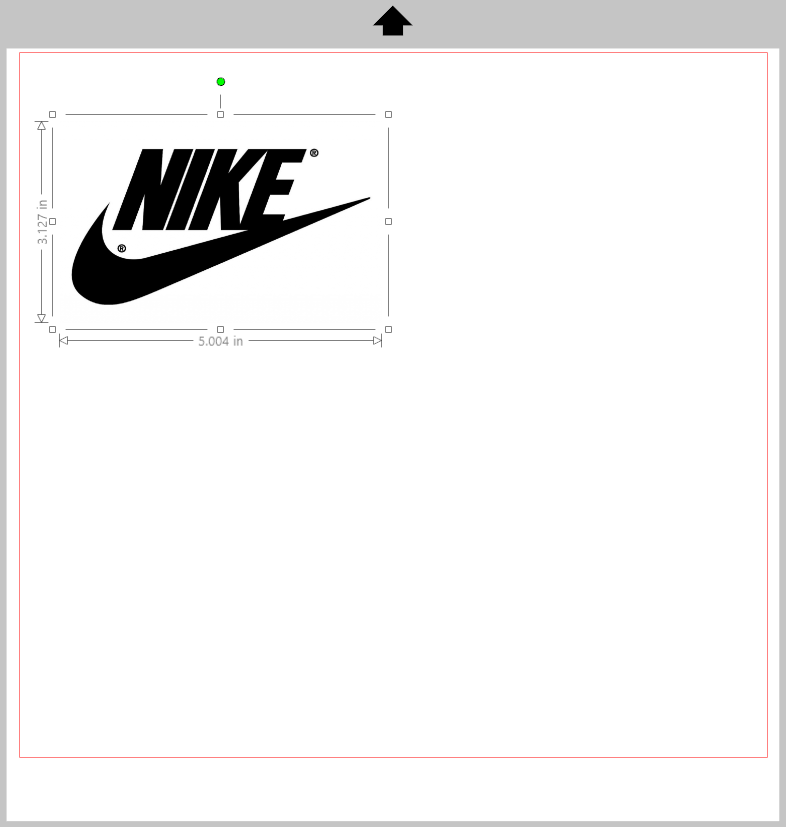
8. **Resize your image**
Click the image once, & drag any of the corner squares to resize.
Make sure that the image is not near the red borderlines.
6. **Place your image into Silhouette Studio by going to File -> Merge**
7. A window will pop-up; select the Desktop, and select your image
8. **Resize your image**
Click the image once, & drag any of the corner squares to resize.
Make sure that the image is not near the red borderlines.
 9. **Outline the image**
Click the **Trace Panel** 
Click **Select Trace Area** 
Click and drag to highlight your whole image
9. **Outline the image**
Click the **Trace Panel** 
Click **Select Trace Area** 
Click and drag to highlight your whole image
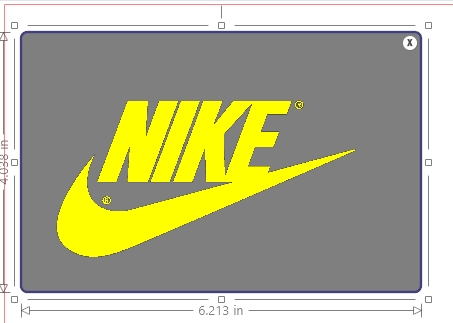 Click **Trace** 
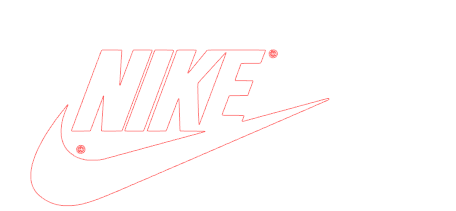
Move the original image and you will see the trace result of the image
Click **Trace** 
Move the original image and you will see the trace result of the image
 10. **Load the sheet of vinyl**
Take a sheet of vinyl, and make sure there is enough room for your design to fit on it. It should be at least 2 inches wider and taller than your design
Open the top of the Cameo and place the vinyl along the bar
Align the left edge of the vinyl with the blue line inside the Cameo
10. **Load the sheet of vinyl**
Take a sheet of vinyl, and make sure there is enough room for your design to fit on it. It should be at least 2 inches wider and taller than your design
Open the top of the Cameo and place the vinyl along the bar
Align the left edge of the vinyl with the blue line inside the Cameo
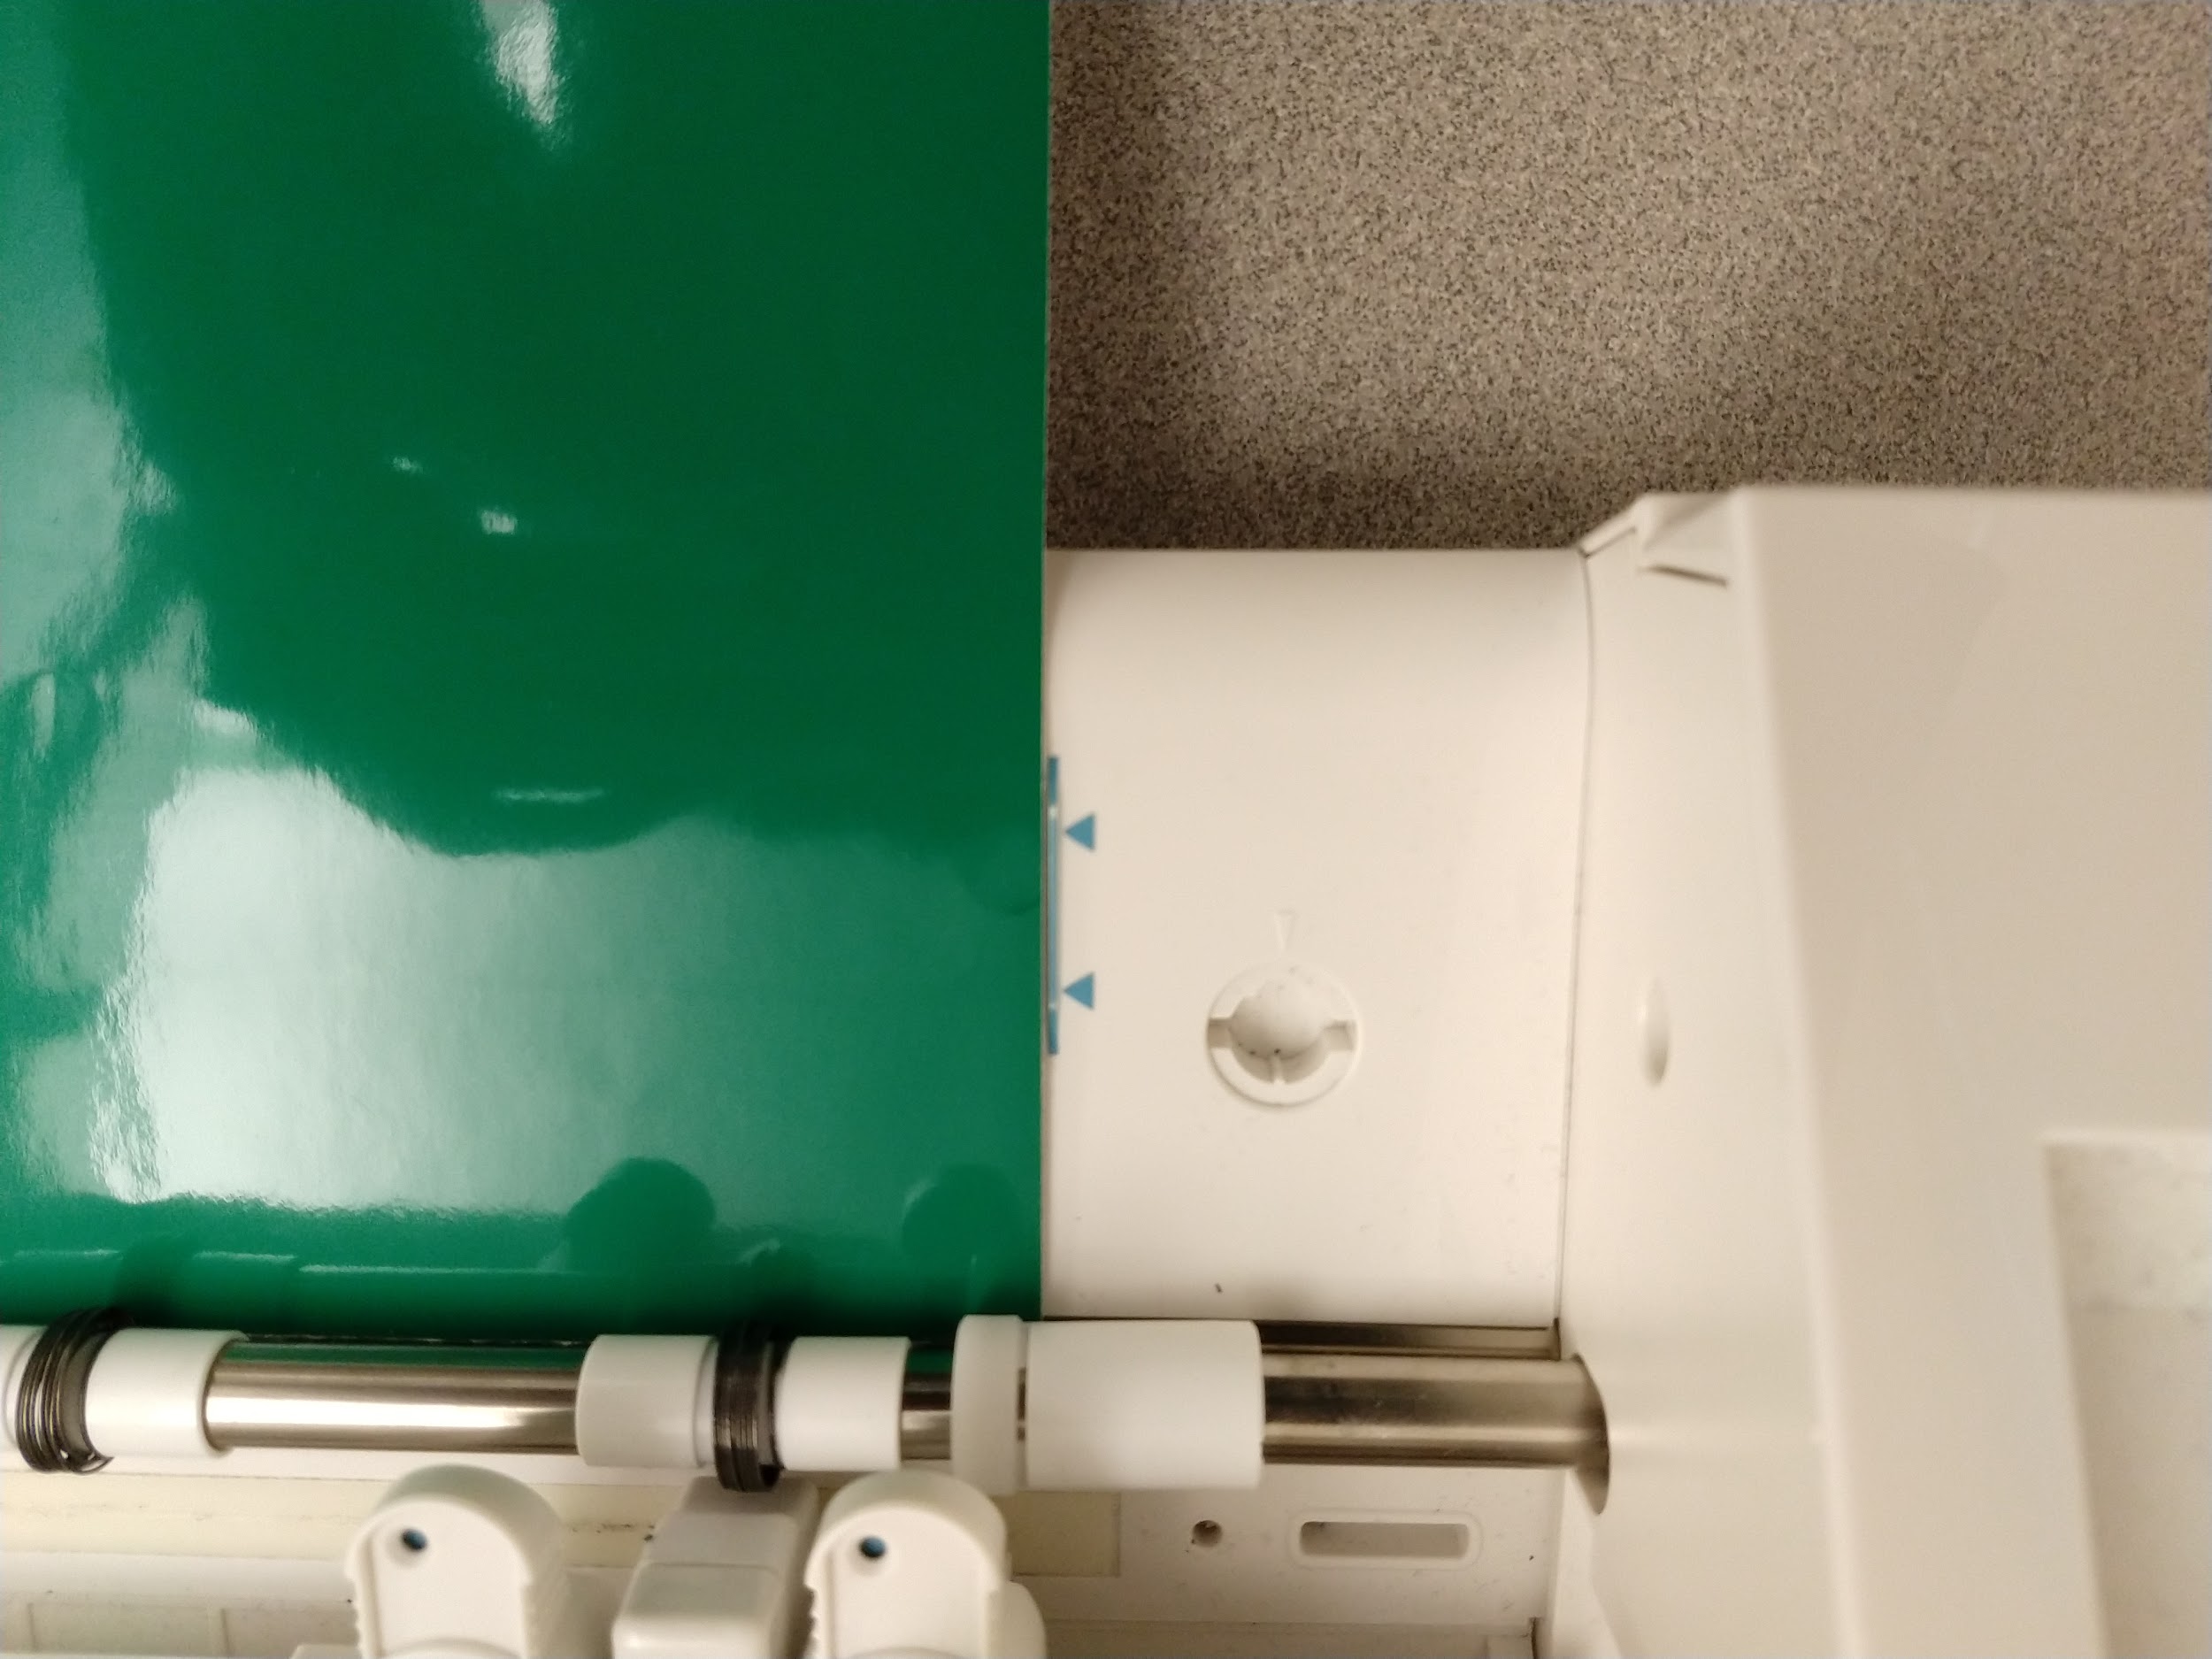 Unlock the rolling bar
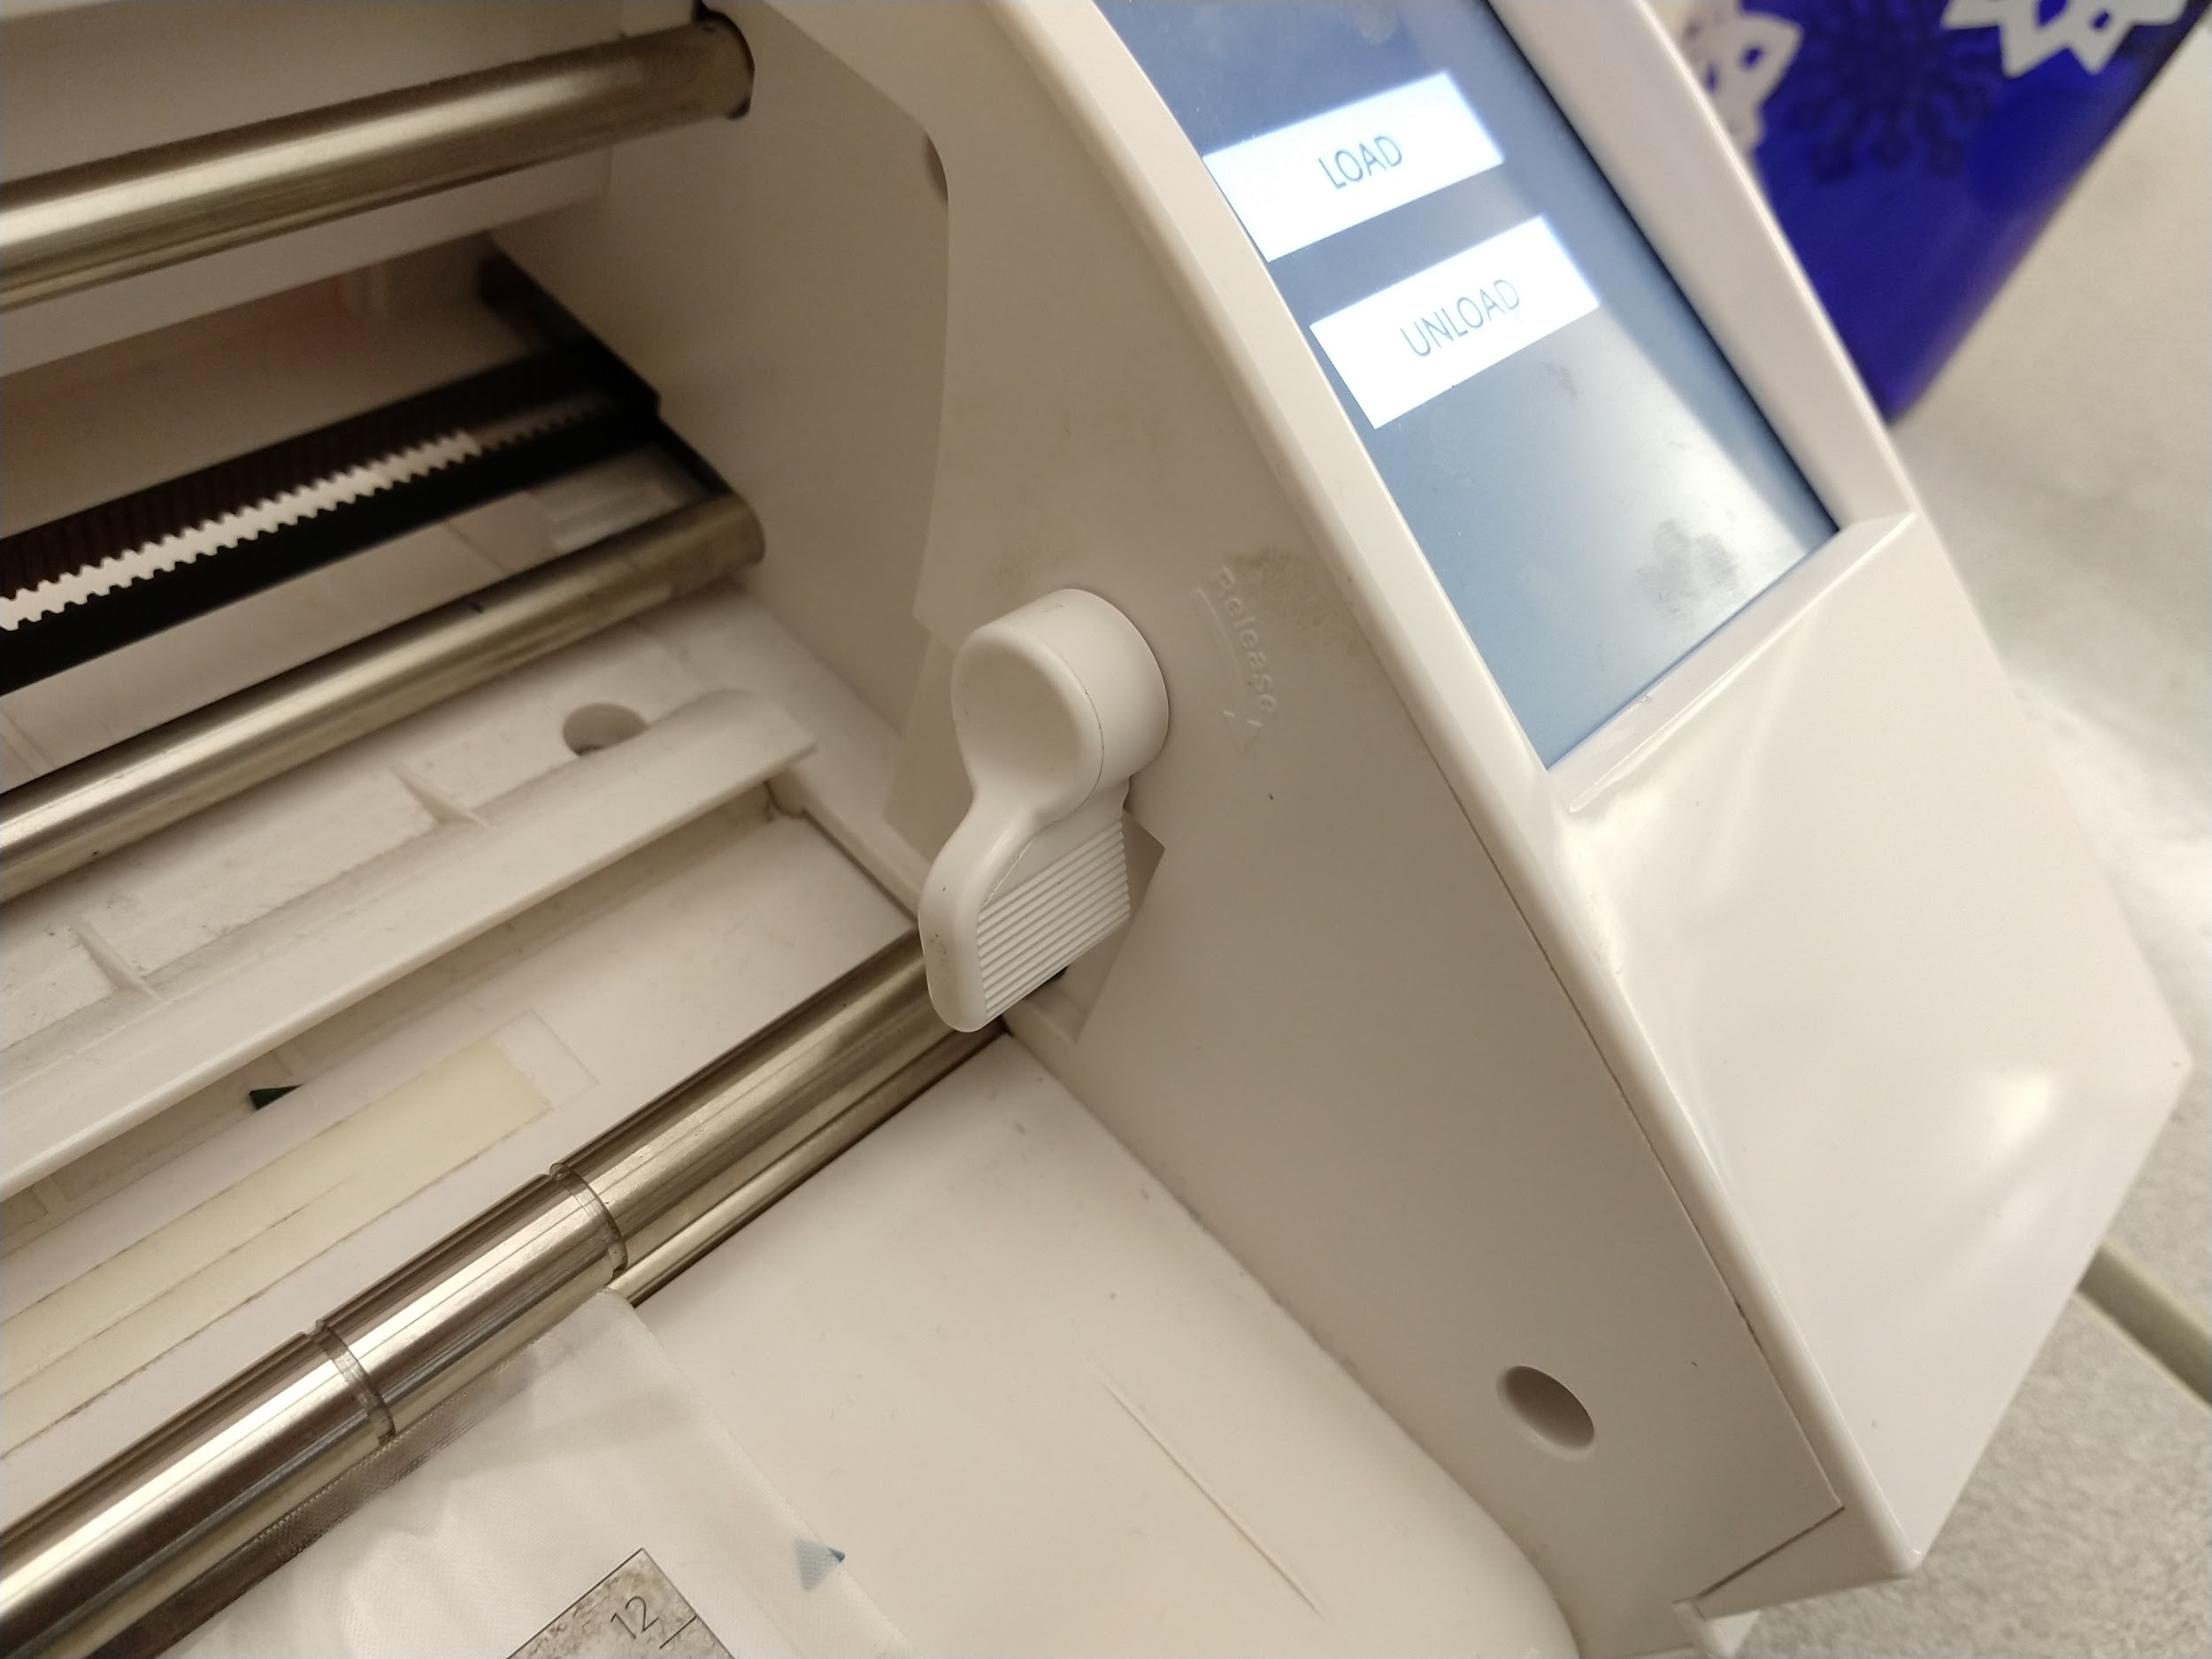 Move the white right roller to the right corner of the vinyl and lock the rolling bar
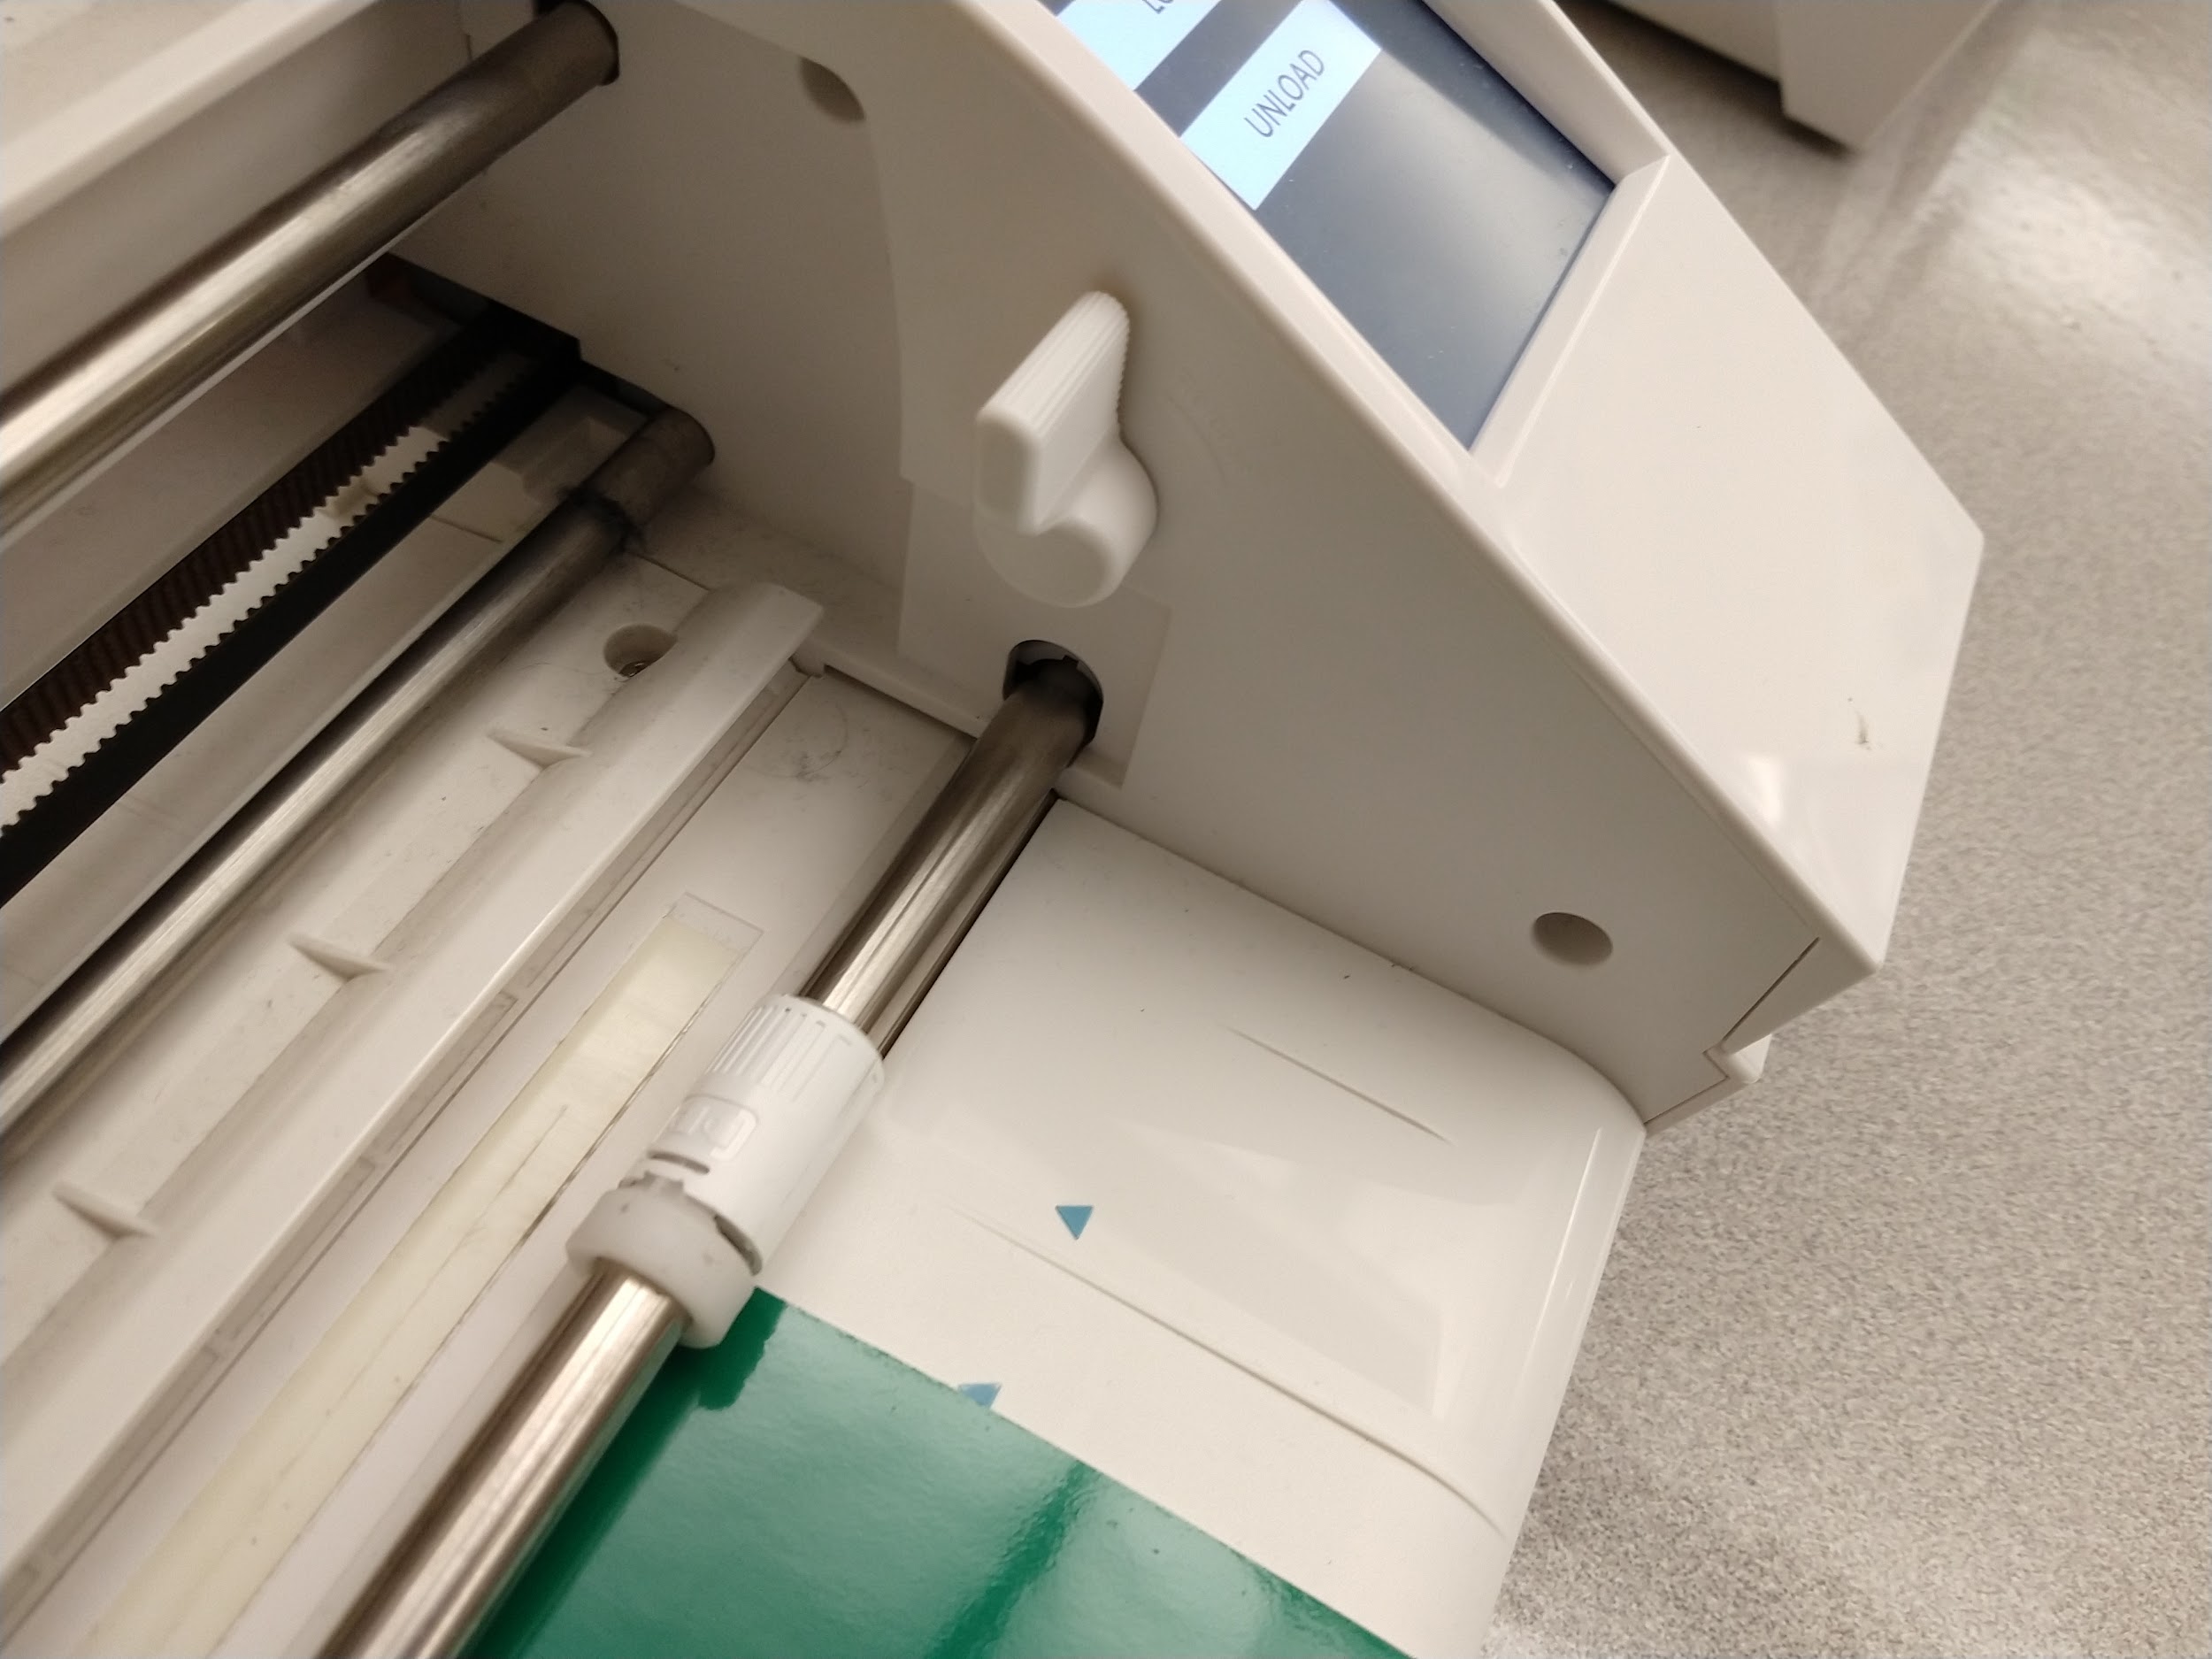 Press the load button on the Cameo screen to load the vinyl, making sure that it loads straight
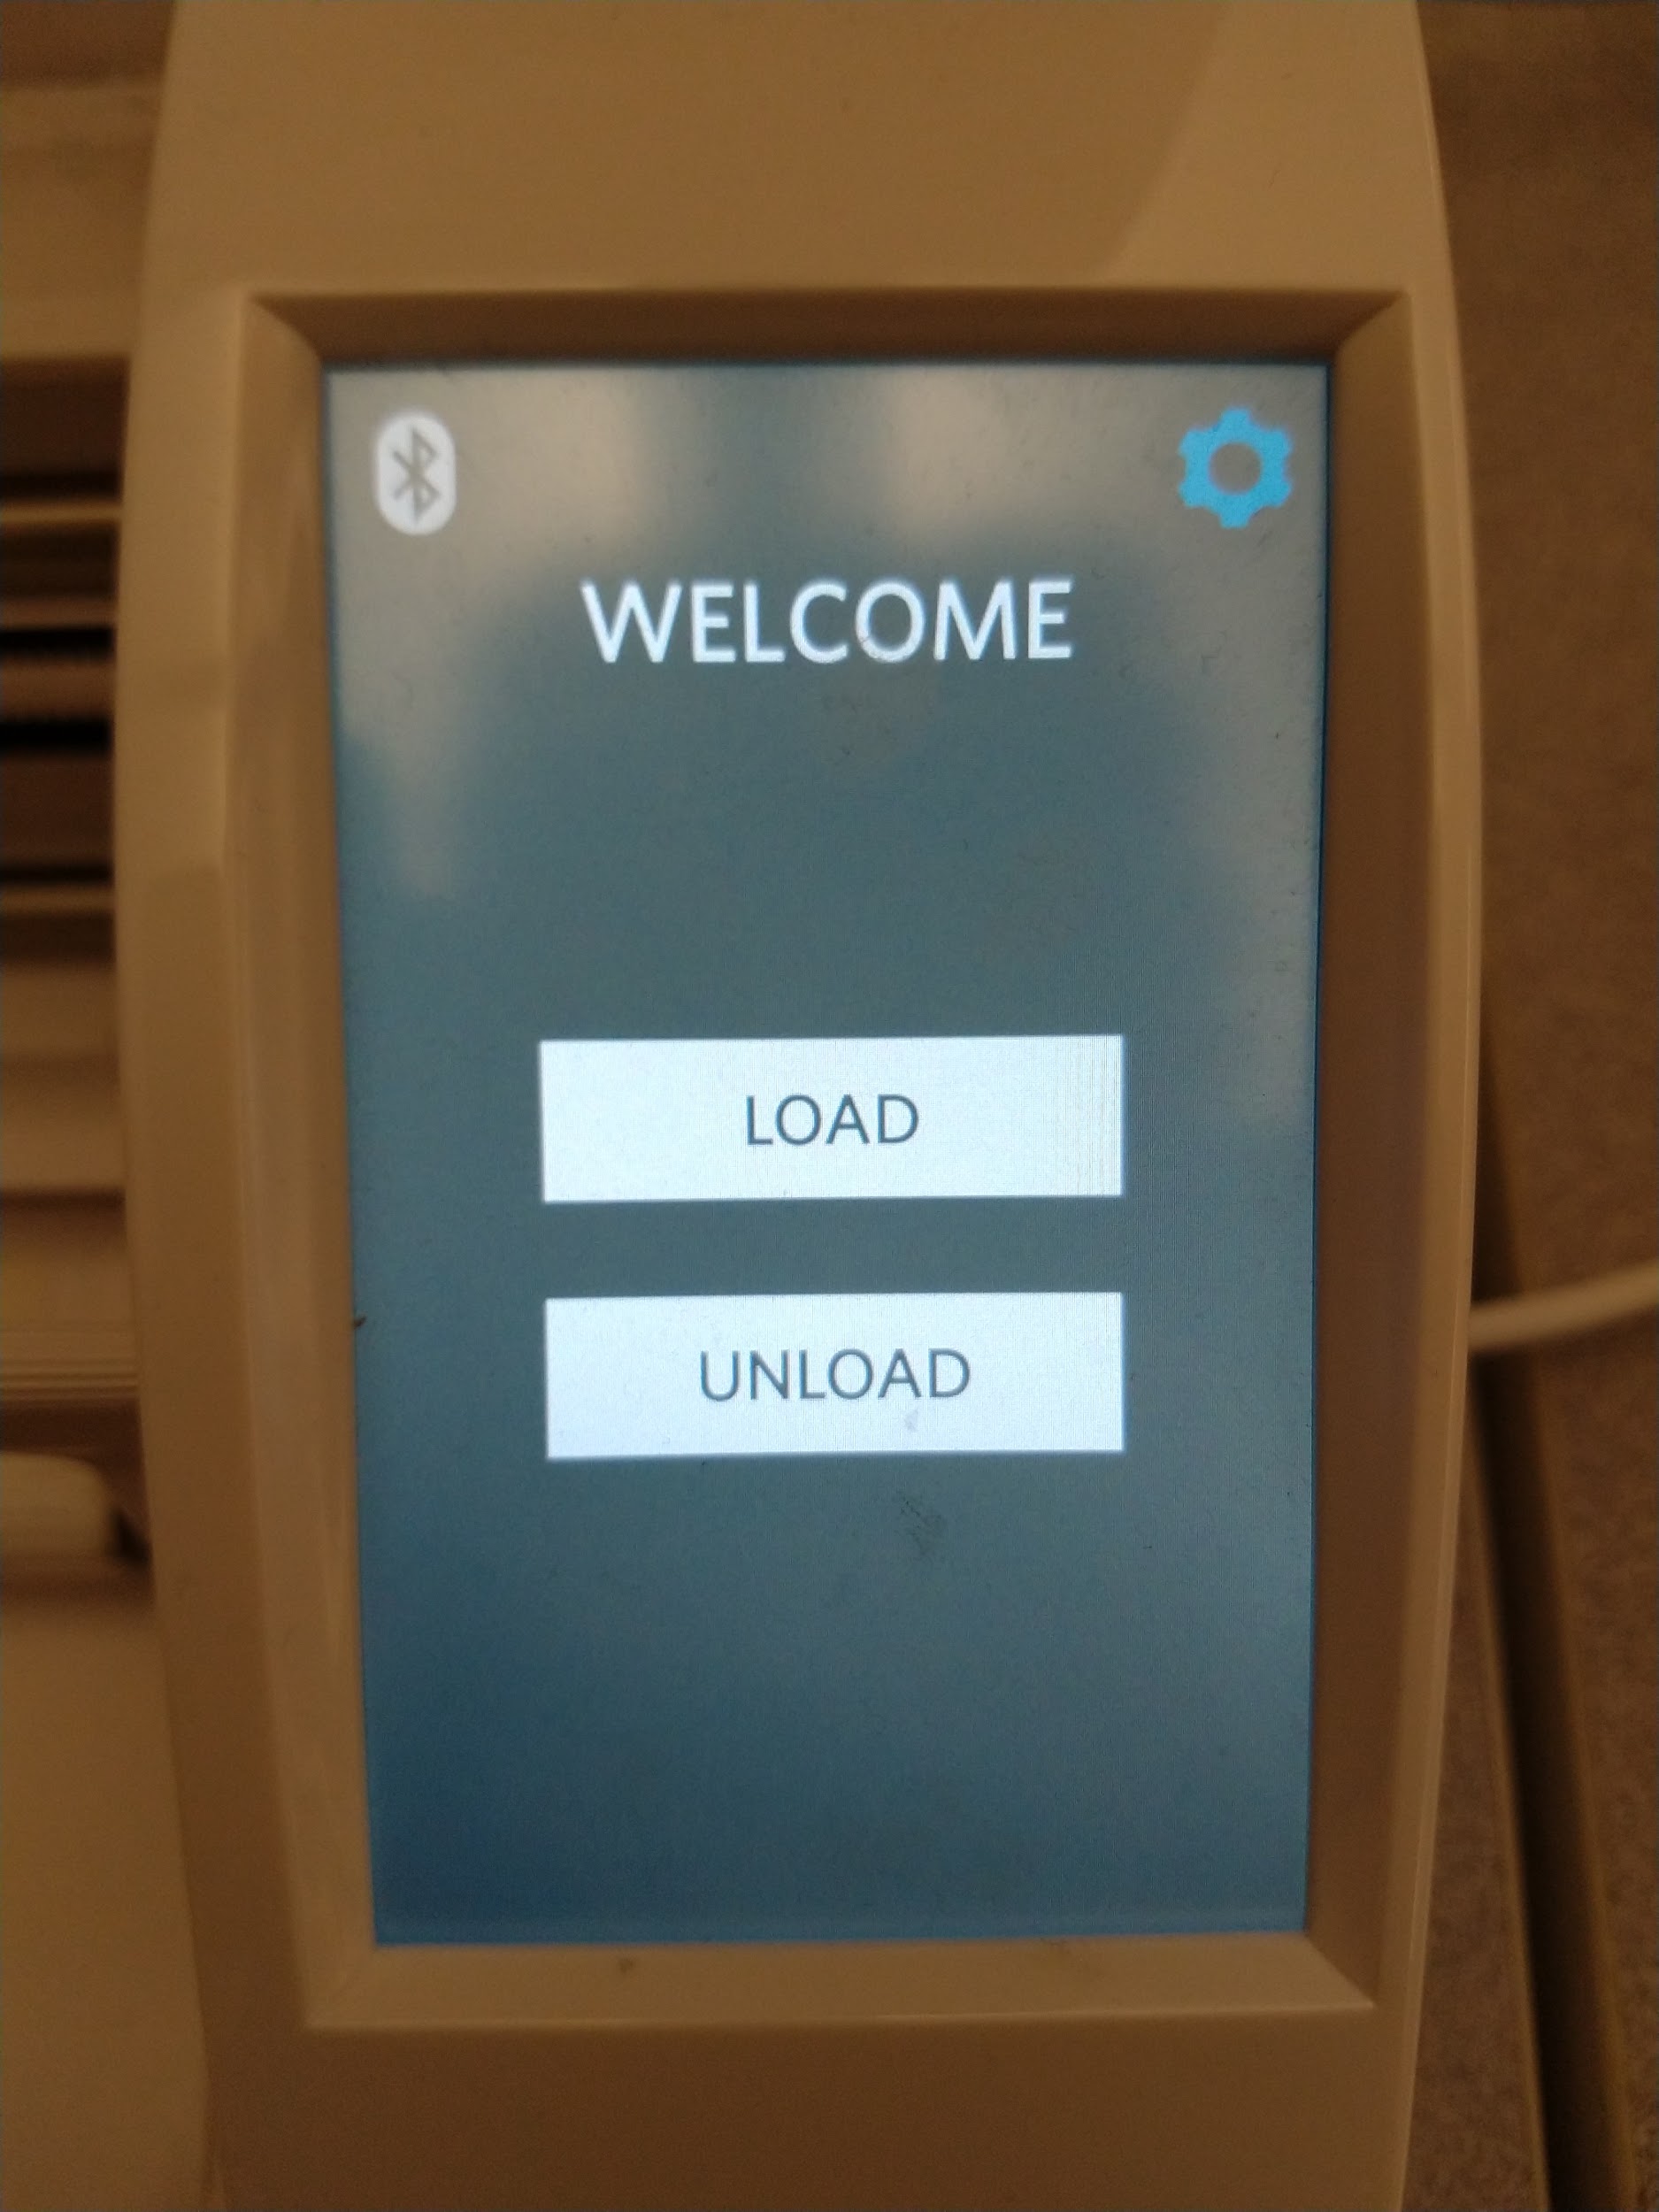 If the vinyl loads crooked, hit the unload button on the screen and load the paper again
11. **Send the file to be cut**
In Silhouette Studio, click **Send** on the upper right 
Select **Simple** 
On the **Material** option, scroll down until you see the Vinyl options
Make sure to select the correct type of vinyl you are using (i.e Glossy or Matte)
If the vinyl loads crooked, hit the unload button on the screen and load the paper again
11. **Send the file to be cut**
In Silhouette Studio, click **Send** on the upper right 
Select **Simple** 
On the **Material** option, scroll down until you see the Vinyl options
Make sure to select the correct type of vinyl you are using (i.e Glossy or Matte)
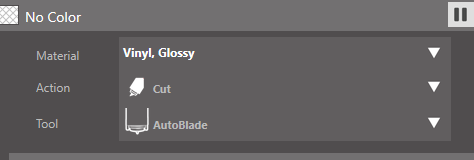 Click the **Send** button on the bottom and the Cameo will start to cut the images. If the vinyl slips (resulting in a bad cut), you'll need to unload the vinyl, load a new piece of vinyl, and re-send the cut.
12. **Unload the stickers**
When the Cameo is done cutting, press the Unload button on the Cameo
Take the vinyl and cut a rectangle around the design
Click the **Send** button on the bottom and the Cameo will start to cut the images. If the vinyl slips (resulting in a bad cut), you'll need to unload the vinyl, load a new piece of vinyl, and re-send the cut.
12. **Unload the stickers**
When the Cameo is done cutting, press the Unload button on the Cameo
Take the vinyl and cut a rectangle around the design
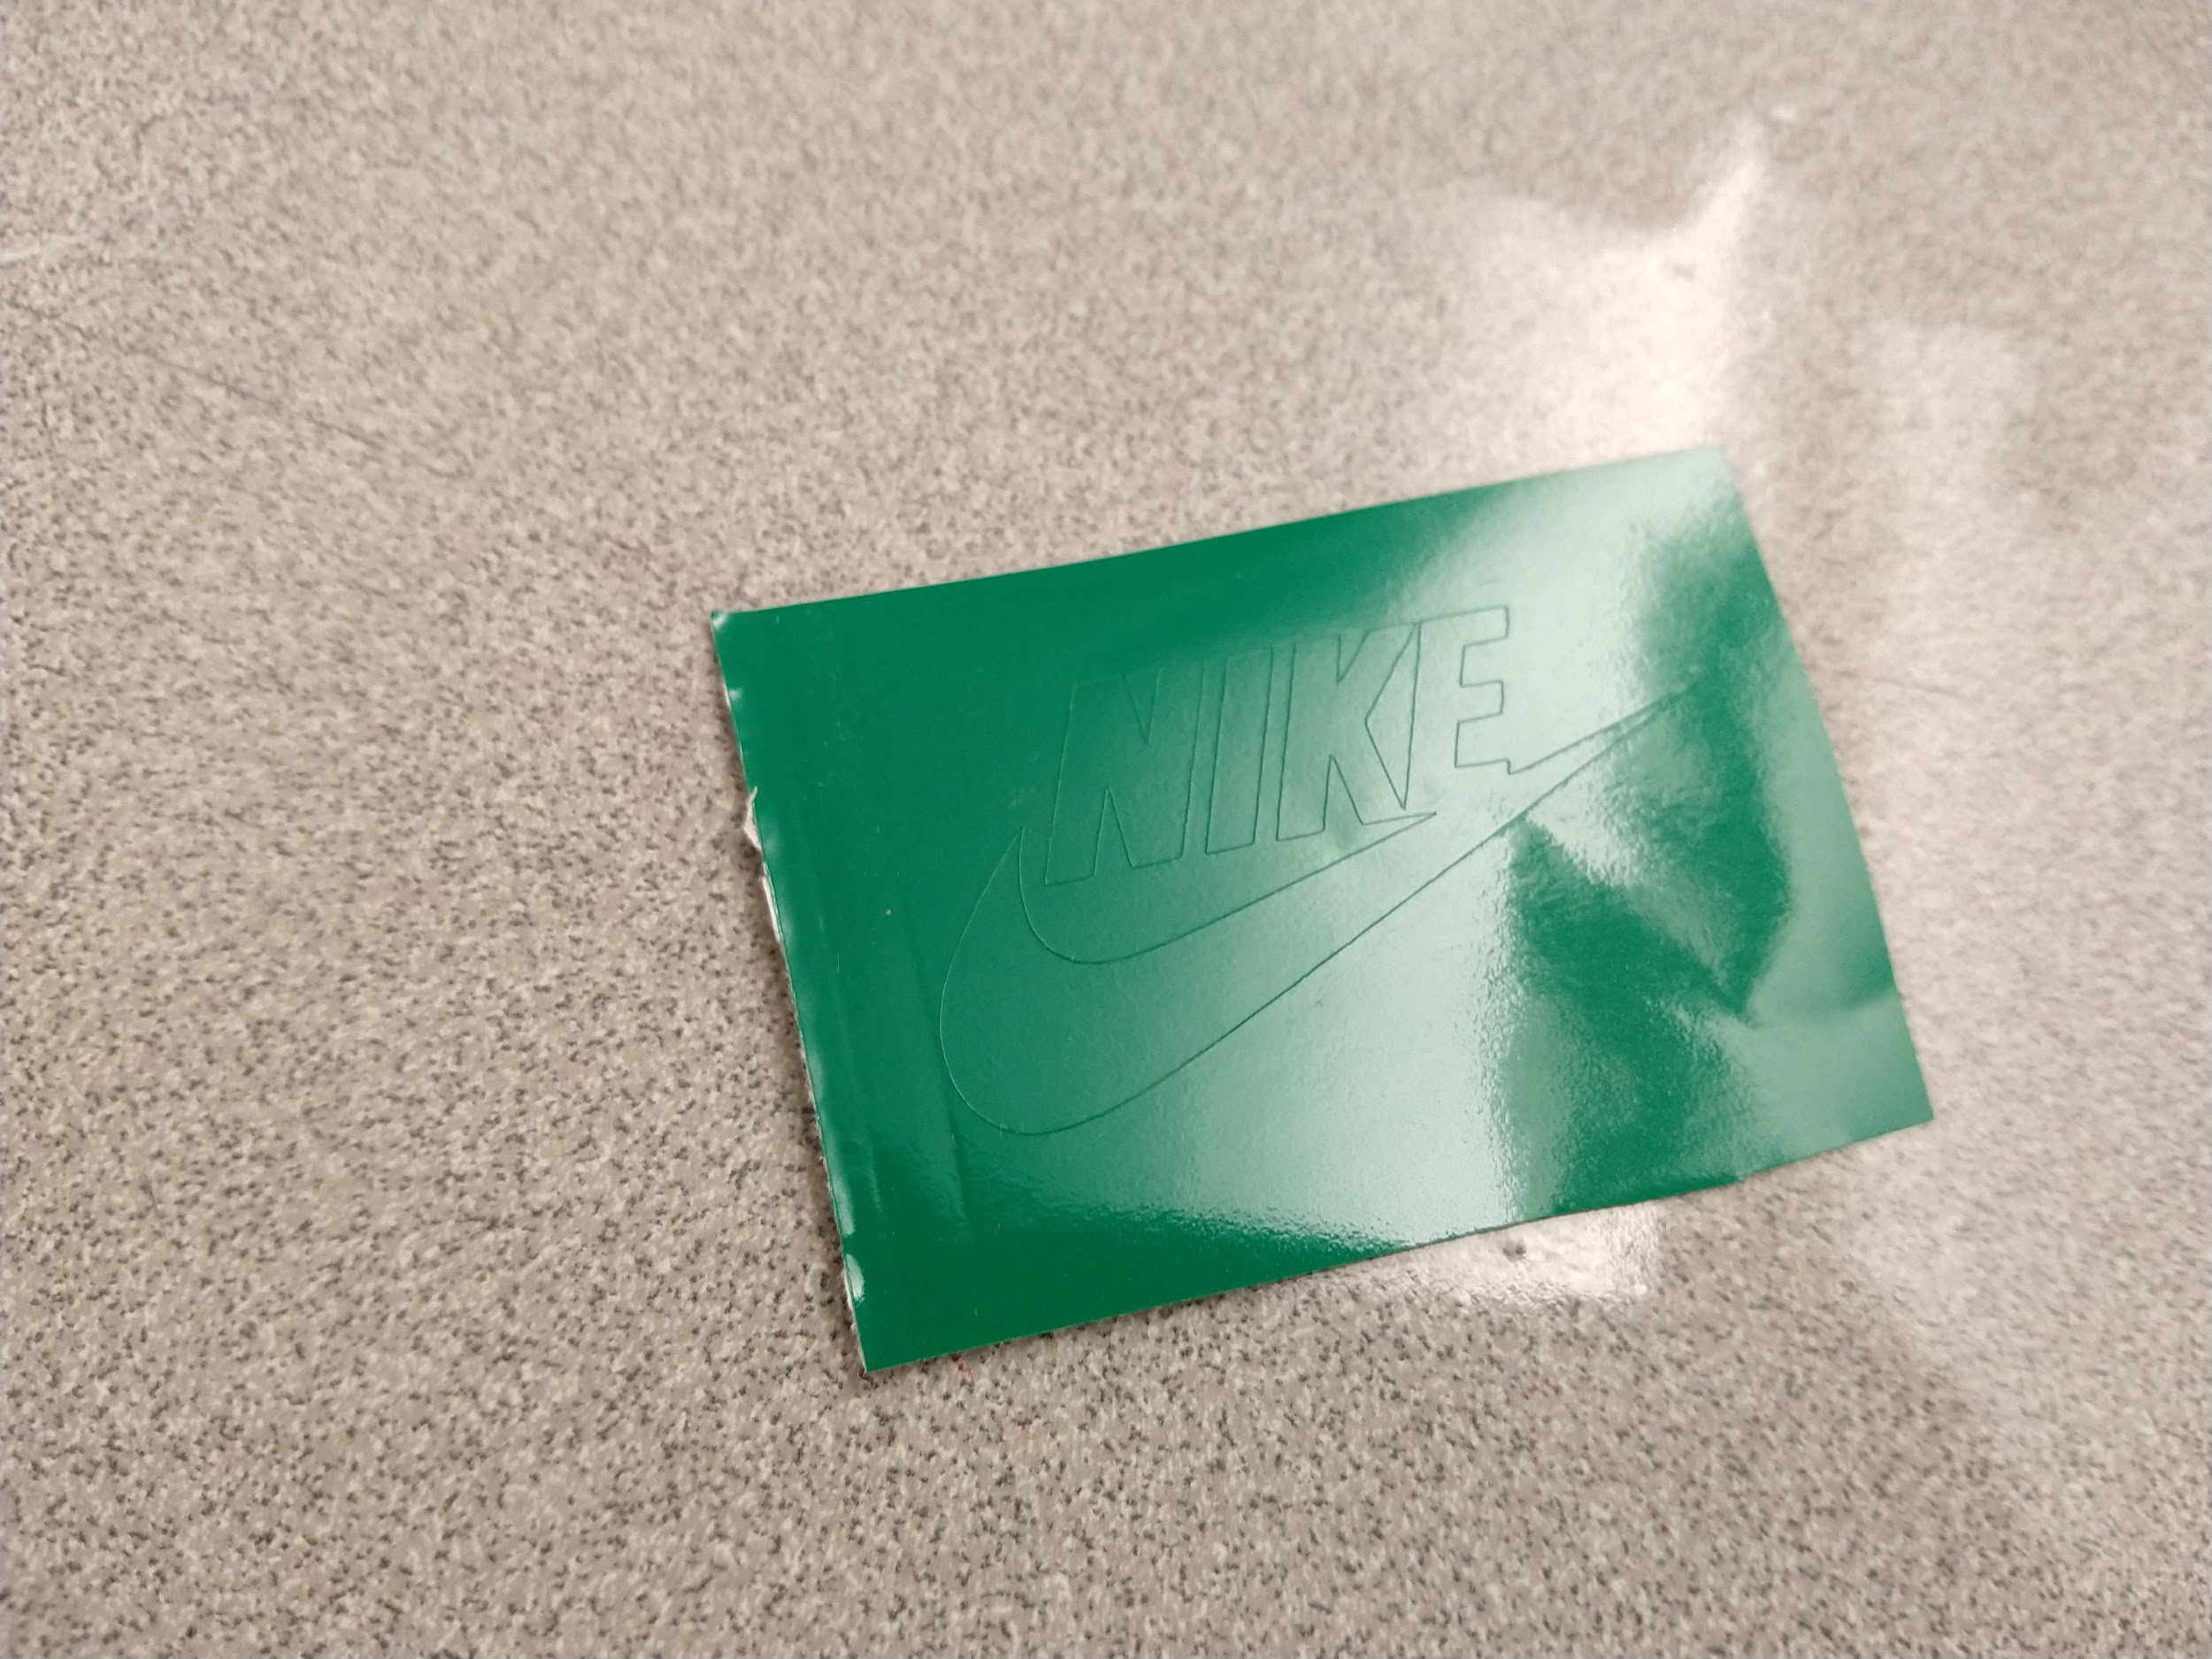 Take a weeding tool and remove any vinyl you don’t want on your design

13. **Apply Transfer Paper.**
Cut out a rectangle that fits around your design, then peel off the transfer paper and apply the sticky side to your design.

Smooth out the transfer paper, making sure to remove any air bubbles.
Once all the air bubbles are out, you’re ready to apply your sticker. Just peel off the transfer paper and your design should stick onto the transfer paper. Stick your design where you want it. Peel off the transfer paper, and your design should now stay where you want it.

Take a weeding tool and remove any vinyl you don’t want on your design

13. **Apply Transfer Paper.**
Cut out a rectangle that fits around your design, then peel off the transfer paper and apply the sticky side to your design.

Smooth out the transfer paper, making sure to remove any air bubbles.
Once all the air bubbles are out, you’re ready to apply your sticker. Just peel off the transfer paper and your design should stick onto the transfer paper. Stick your design where you want it. Peel off the transfer paper, and your design should now stay where you want it.
